
Table of Contents
Vivado is Xilinx’s primary IDE for FPGA and SoC development. Installing it on Windows Server (2019 / 2022) is straightforward, but you need to prepare the system properly to avoid installer errors and driver issues.
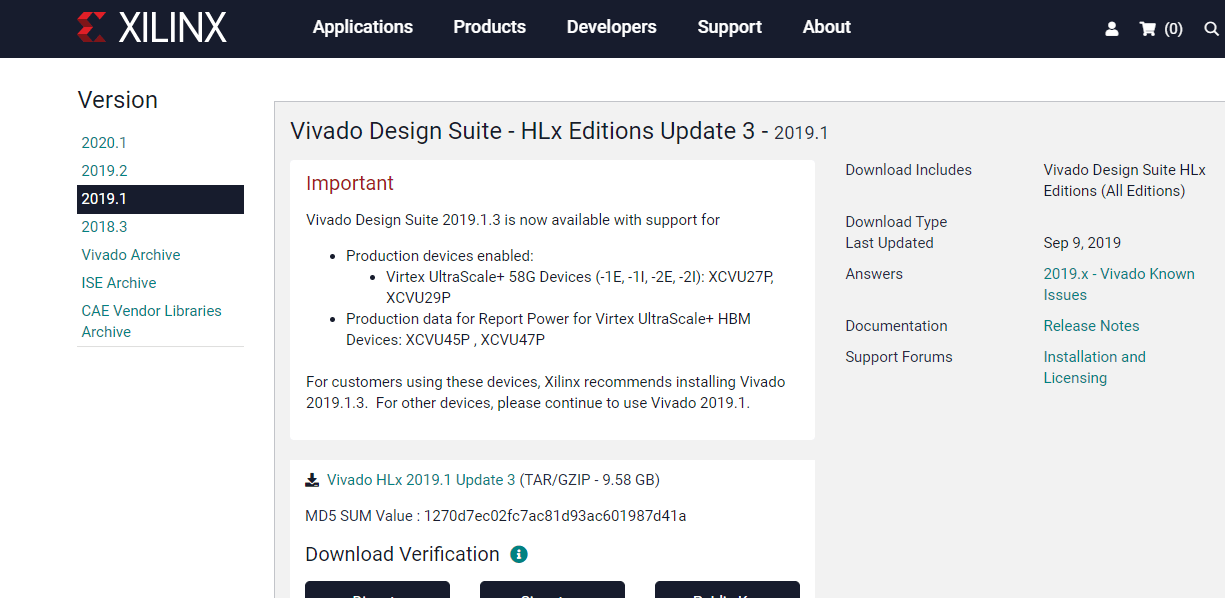
Step 1: Download Vivado Installer
Download the latest Vivado Design Suite for Windows from the official AMD Xilinx website after signing in to your account.
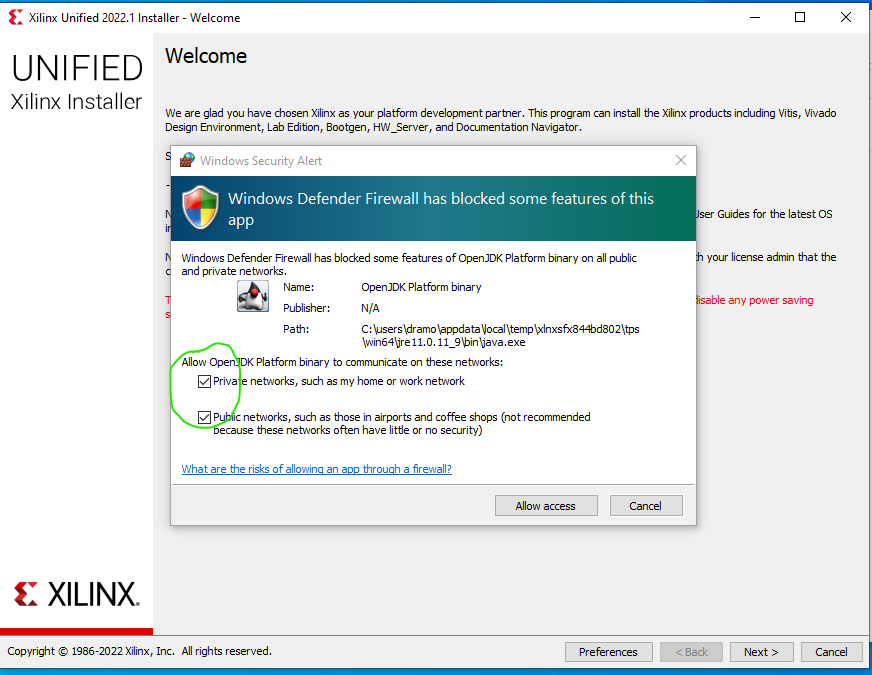
Step 2: Run the Installer as Administrator
After downloading, extract the installer files and run the setup application as an administrator. This helps avoid permission and system access issues during installation.
Step 3: Sign In and Accept License Agreements
When the installer starts, sign in with your AMD Xilinx account. Carefully review and accept the license agreements to continue with the installation process.
Step 4: Select Installation Edition
Choose the Vivado edition that matches your needs, such as Vivado HL Design Edition. Selecting the correct edition helps keep the installation clean and efficient.

Step 5: Choose Installation Components
Select only the required devices and features. Avoid installing unnecessary components to reduce disk usage and installation time.

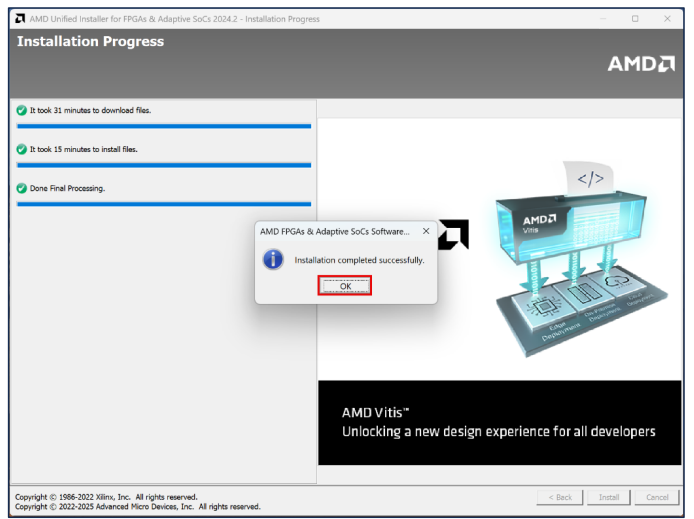
Step 6: Complete the Installation
Confirm the installation location and start the installation process. The installer will download and install all required files automatically. This step may take some time depending on system performance.

Step 7: Configure Vivado License
After installation is complete, open the Vivado License Manager. Load your license file or activate your license online to enable full functionality.
Step 8: Verify Vivado Installation
Launch Vivado from the Start Menu to confirm that the software opens correctly and runs without errors.

Need a Windows Server?
DropVPS Windows VPS gives you full Admin RDP access, instant setup, and dedicated resources — run any Windows workload without limits.
- Full Admin Access
- RDP Ready Instantly
- Dedicated Resources
- 24/7 Support
No commitment · Cancel anytime