
Table of Contents
What you will read?
Installing PyTorch on Windows Server 2022 is simple and can be done in a few clear steps. Follow this guide to get PyTorch up and running quickly for your AI and machine learning projects.
Step 1: Update Your System
Make sure Windows Server 2022 is updated to the latest version. This prevents compatibility issues during installation.

Step 2: Install Python
Download Python from the official Python website and install it. During setup, select “Add Python to PATH” to make it easier to use from the command line.

Step 3: Upgrade pip
Before installing PyTorch, update pip (the Python package manager) to the newest version. This helps ensure a smooth installation process.
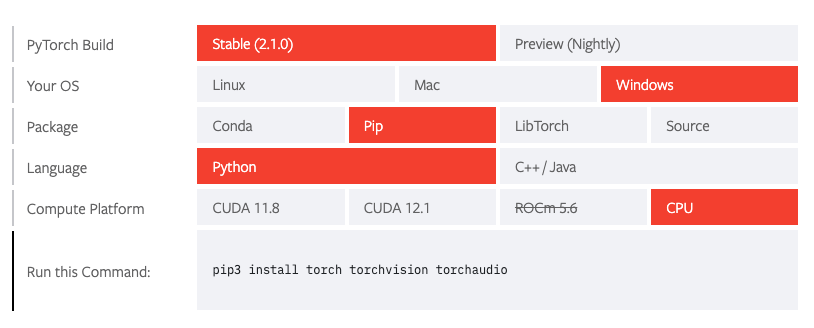
Step 4: Install PyTorch
Visit the official PyTorch website and copy the recommended installation command based on your system (CPU or GPU). Run the command in the terminal to install PyTorch.
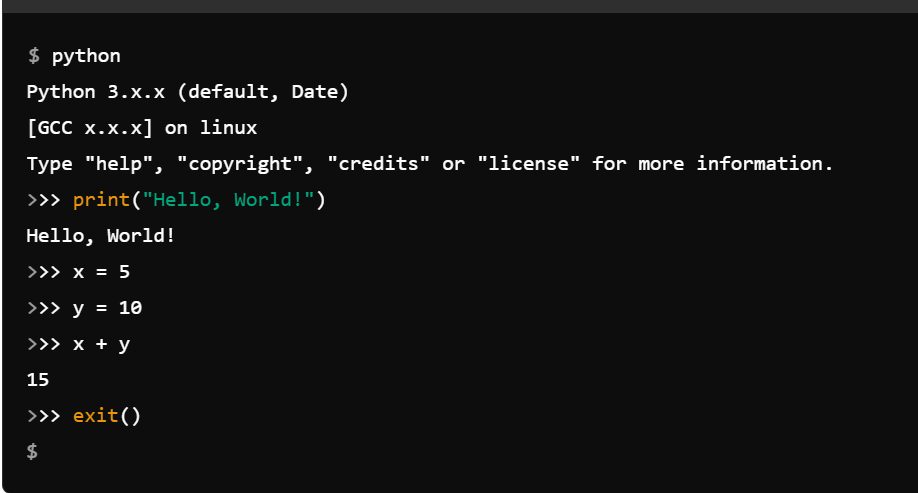
Step 5: Verify Installation
After installation, open Python and try importing PyTorch. If no error appears, PyTorch is installed successfully.
Step 6: Test PyTorch
Run a small Python script to test PyTorch by creating a simple tensor or running a basic math operation to confirm it works correctly.

Need a Windows Server?
DropVPS Windows VPS gives you full Admin RDP access, instant setup, and dedicated resources — run any Windows workload without limits.
- Full Admin Access
- RDP Ready Instantly
- Dedicated Resources
- 24/7 Support
No commitment · Cancel anytime